


BrowForm
BrowForm


BUNDLE & SAVE
⏰ Save 10 Mins Every Morning
✨ Ultra Realistic Natural Hair Strokes
💧 Waterproof & All-Day Long Lasting
📐 3 Shapes For Perfect Symmetrical Brows
Couldn't load pickup availability
-
Ordered
- - -
Order Ready
- - -
Delivered
Q: Is this brow stamp easy for makeup beginners?
Q: Is this brow stamp easy for makeup beginners?
A: Absolutely! Just press and stamp, you can get neat symmetrical brows in seconds, no makeup skill needed.
Q: Will the eyebrow print fade when washing face or sweating?
Q: Will the eyebrow print fade when washing face or sweating?
A: It’s waterproof and sweat-resistant, stays intact all day even after showering.
Q: How many eyebrow shapes can I choose from?
Q: How many eyebrow shapes can I choose from?
A: We provide 3 classic styles: Soft Curved, Natural, Arched, fit all face shapes.

BrowForm


Choose your shade. Choose your shape. Stamp perfect brows inseconds.
Each kit includes BrowForm Pro, BrowColor transfer ink and cleansing oil, so youcan create defined, natural-looking brows with the correct formula from thestart.

1. CHOOSE YOUR SHADE
Tip: if you are between two shades, choose the lighter one for asofter, more natural result
Black
A muted grey shade for cool-toned and ash brows.
Grey
A muted grey shade for cool-toned and ash brows.
Brown
A versatile brown shade for classic brunette brows.
Dark Brown
A rich brown shade for deeper brunette brows.

2. Choose your shape
Three Universal Brow Shapes: Ultra-realistic styles designed to suit every brow
Soft curved
A medium-density brow with a soft curve and gentle angles.
Ideal if you want a balanced, polished shape that still feels soft and natural.
Natural
Slightly finer and a touch more arched, this shape gives a naturally defined resultwith a little more structure and lift.

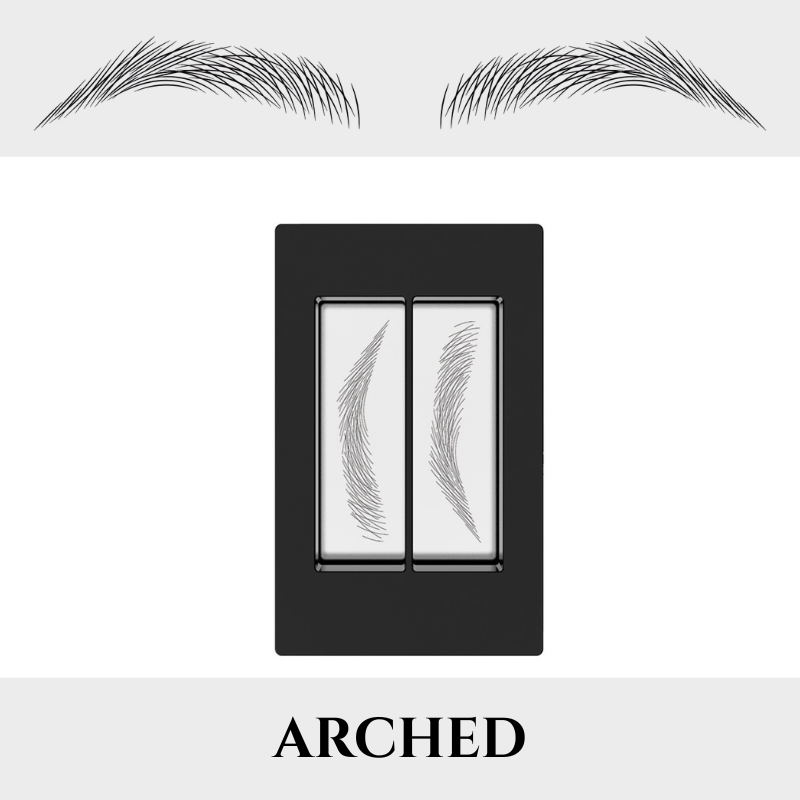
Arched
The most arched of the three, with an intermediate thickness that makes the browlook fuller, more lifted, and more defined.
3. HOW TO USE THE BROWFORM KIT
Simple step-by-step application

1.Open the case and prepare the ink
Open the main case by pressing the side clips or the indicated tab. Choose the left or right metal brow plate. Shake the ink bottle very well before use to make sure the color is evenly mixed.

2. Apply and spread the ink
Apply a thin line of ink from one end to the other along the dotted line at the top of the mold. You don’t need to use too much. Then slide the built-in scraper down firmly to spread the ink evenly across the metal brow design.

3. Pick up the brow shape with the stamp
Close the outer lid of the case. Take the transparent silicone stamp, place it into the slot, and press gently but firmly so the brow shape transfers onto the stamp. After removing it, wait around 15 seconds before applying.

4. Stamp your brow
Look in the mirror, align the beginning of the stamp with the start of your eyebrow, and press firmly onto the skin once.

5. Clean with the Stamp Cleaning Oil
After use, clean the metal plate, scraper, and stamp immediately with a dry tissue. Then apply 2 drops of cleaning oil onto the metal plate and wipe again with a clean tissue or cotton pad until everything is clean and ready for next use.
Contrast between BrowForm Eyebrow Stamp and Ordinary Eyebrow Makeup Tools:
| Our | Others | |
|---|---|---|
| 3 Natural eyebrow shapes to choose | ||
| One-click stamp, create symmetricalbrows fast | ||
| Waterproof, sweat-proof & long-lasting finish | ||
| Ultra-realistic hair-like brow texture | ||
| Friendly for makeup beginners |
Customer Reviews
Questions you may have
Is this the same as brow gel?
Is this the same as brow gel?
No. BrowColor is stamp ink designed for brow stamp application. It is different from a regular brow gel.
Is this a permanent brow dye?
Is this a permanent brow dye?
This is a temporary eyebrow makeup product for stamp-style brow definition. The ink is water-resistant and long-lasting(it lasts all day), but it can be removed with water and mild soap.
Can I use it without BrowColor?
Can I use it without BrowColor?
The ink is specialldesigned to be used with and adhere to the BrowStamp. For optimal results, we recommend using them together with your BrowForm stamp tool and blending after application.
Collapsible row
Collapsible row
-

Free Shipping
Enjoy free shipping on all orders over $39.98
-

100% Money Back
Free returns within the first 30 days after purchasing
-

Secure Checkout
Payment from the most popular & secure payment methods
-

24/7 Live Support
Reach out to our support team via email:
kelleherbry61015@outlook.com


